Wednesday, February 27, 2013

Meanings in Names


I want to spend a little time talking about the meaning behind the name of my blog. I ended up deciding that I wanted something that describes me and a little bit about what my blog would be about but not lock me in too much. Something that I could be flexible with and didn't have to write about only one part of my life. With all that in mind Green Mama Katie was born.

I'll break down each part of the name and explain the meaning behind it.

The easiest part to start with is the Katie part of the blog. It is simply my nickname. It is not my legal name but it is the name my mother gave me. It has always been my name since she decided that that was what my nickname would be. If you know me, you call me Katie.

The next easiest part to explain is Mama. I chose it because I am now a mother. It is what I often refer to myself as to my son. It was his first name for me. I also like the sound of it.

The last part I'm going to explain is probably the most complicated, the most detailed, and tells the most about me. If you were to guess that it had something to do with being Earth friendly you would be correct, but that is only part of it. I do care about the environment and I do care about making a difference. However, Green is also my favorite color. The color means a lot to me. Some of my favorite things are also green. Vegetables, frogs, snakes, emeralds, and many other things. Green means a lot of things to me as well. I'm part Irish. My husband's birthstone is the emerald. Green also represents new life and growth for me. It represents nature and a sense of peace.

Emerald earring in my ear.

All combined, these names represent who I am and what I want this blog to be about. I hope you enjoyed finding out a little more about me. If you have any questions, let me know. I'll be happy to answer them.

Tuesday, February 26, 2013

Pinterest is Responsible for this Inspiration of Evil


I am working on and fleshing out some really deep and hopefully inspiring posts, but Pinterest is responsible for sparking all kinds of creativity in me and sidelining more meaningful projects. The below recipe is inspired by all the things with Oreos shoved in them.

You'll need the following:

  • 1-2 boxes of Funfetti Cake Mix
  • The ingredients to make the cake according to the directions (water, oil, eggs)
  • 24 regular Oreos
  • 24 Golden Oreos
  • peanut butter
  • Nutella


Mix the cake mix according to the box.  I only used one box in this recipe, but two may have been better.


Spread a layer on the bottom if using one box, half if doing the whole box.


Start spreading peanut butter on the regular Oreos.


Arrange them in the pan on top of the first layer of batter until you have used all 24.


Start spreading Nutella on the Golden Oreos.


Arrange them on top of the regular Oreos until you have used all 24.


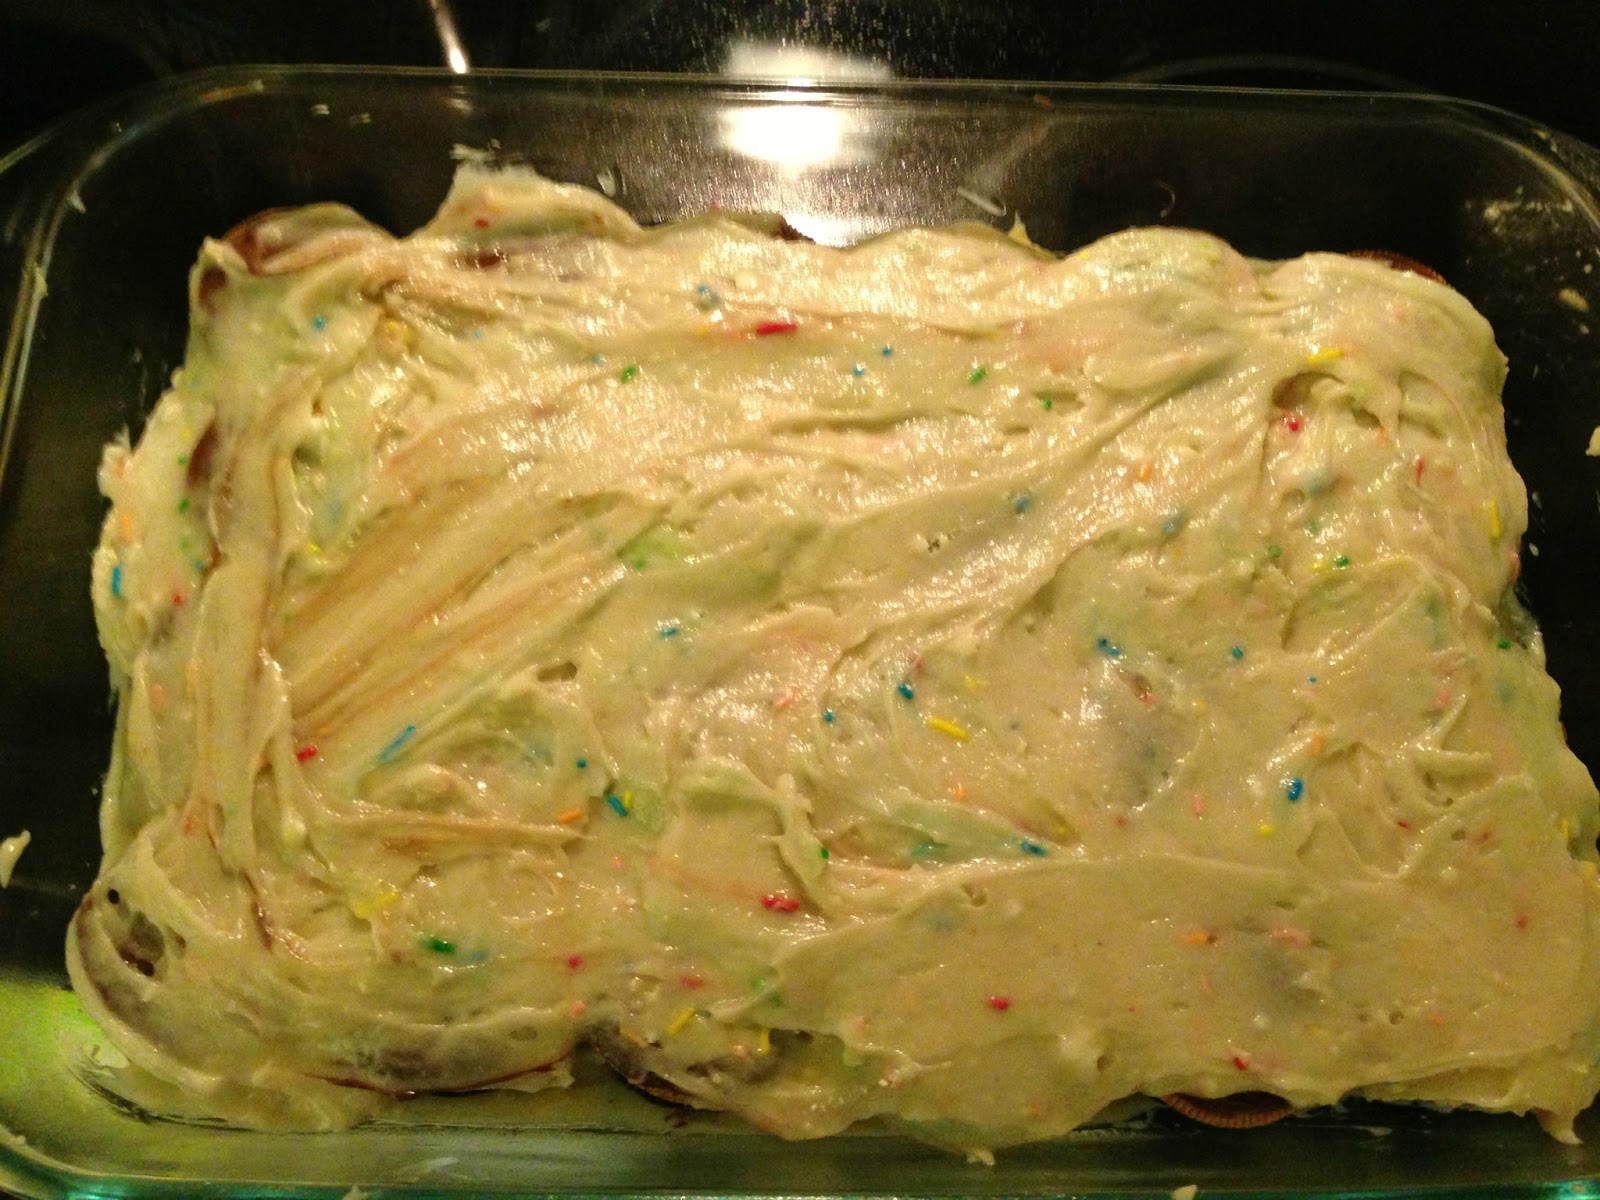
Pour the remaining batter on top.  Spread around if necessary.


Bake for at least 10 minutes more than the directions on the box.  Check the cake with a toothpick.  It is done when the toothpick comes out clean of batter.  You may also need to rotate the cake half way though if you oven sometimes bakes a little unevenly.


Let cool for at least 10 minutes.  Once cooled, cut and enjoy.  It's great if it's still a little warm.  MMMMMmmmmm

Thursday, February 21, 2013

My First Buckled SSC is Here


I made the plunge into a buckled soft structured carrier since my toddler is in a very pick me up put me down kind of mood lately.  Plus, I've wanted to put him on my back more often so I can get more done and I just couldn't get the wrap down for back carries and he was too big for my mei tai.  So after talking to my sister in law about the best ones, I decided on the Olives & Applesauce carrier in the koi pattern.  It arrived today and I am sooooo excited.  And it's so pretty.  Here it is!


Pretty packaging and beautiful note!

The carrier.


Toddler in the carrier.


Another angle.

Wednesday, February 20, 2013

I Don't Own a Baby Monitor


What?!?! No baby monitor!

Some of you may know this about us and for some this may come as a surprise, but we do NOT own a baby monitor. We never bought one because dude-y was going to sleep in our room at first. My husband and I disagreed on whether that would be in the bed or in a bassinet, but we agreed on the fact that he would sleep in our room. I agreed to bassinet in the room until it became clear that dude-y would have NO part of sleeping somewhere other than on top of mommy or right next to her attached to the boob.

Once he was in the bed, he stayed. We fought this arrangement a few times until it became clear that it was too much stress on all of us. We took the bed off the frame and eventually turned the converted crib into a side car for our bed.

Here he is actually sleeping in his crib, but you can see its right next to our bed. Don't worry, those plugs are covered!

So now here we are almost 19 months after his birth and still no monitor. We don't plan on buying one and are so glad we saved our money. We didn't lay up all night listening to a monitor to make sure he was breathing, we could feel him breathing next to us. We all slept better that way. My husband even complains sometimes when I'm in the middle instead of dude-y. We let him wonder off and play (I make sure doors are shut to rooms I don't want him in) and check in from time to time or when he gets too quiet. 

I am so grateful that thanks to researching natural and attachment parenting combined with my cheapness and practicality, we opted out of this piece of modern parenting and technology. It means a family all snuggled up in the same room enjoying the comfort and closeness of each other. It means waking up to a tiny hand on my face or a fuzzy head on my shoulder. It also means kicks in the head or being suffocated by a toddler who still wants to sleep on my chest attached to the boob, but we wouldn't change it since it also seems to mean we have an amazingly independent (at times), capable, and loving toddler. He knows we are there for him day and night. He is turning into a very loving child who relishes in getting kisses from the dogs, kissing his loved ones and any inanimate object with a face, hugging his little buddies, and rubbing babies very sweetly and gently on the head. 

Now I don't want to get out of bed and leave my cuddle bug behind, but I must go to work!

Sunday, February 10, 2013

Katie's Chicken Stroganoff (from scratch)


The original inspiration for this dish comes from my mom. I have no idea where she got it from, but it was always one of my favorites. Over the years, I've experimented with making it from scratch without the canned cream of whatever soups as I've worked to get back to basics and green up my life. Recently I made a Danish meatball dish (found here) that helped me come up with a better way to make the base sauce. So here is my recipe with yummy pictures below:

Cream Sauce Base Ingredients:
1/2 lb of butter
1/4 arrowroot powder or flour
3/4 cup chicken broth
11/4 cups milk
1tsp paprika (feel free to add more)
Salt to taste

Stroganoff Ingredients:
1/2 - 1 medium to large onion (I usually just use what I have)
6-8 large white mushrooms
2 tbsp butter
Cream base from above
8 oz or so chicken (I used canned since I don't have a lot of time with an 18 month old)
16 oz sour cream
1 bag of egg noodles
Paprika

First, start boiling your water for the noodles. You will cook and drain according to packaging.

Combine milk and broth in a liquid measuring cup. Start melting the butter for cream base in small sauce pan over medium-low heat. Once butter is melted for sauce, whisk in arrowroot powder till smooth. Begin slowly adding milk and broth mixture to the small sauce pan and keep whisking until thickened (this takes a long time, but I promise it will thicken). Once thickened stir in salt to taste and paprika, then set aside.

Roughly cut the onions and slice the mushrooms into slightly thick but not too thick slices. Melt the butter in a large skillet. Throw onions into large skillet and begin sautéing, I like to add more paprika to the veggies while they sauté. Once the onions are mostly clear, add in mushroom slices and sauté until mushrooms are well cooked. Add the chicken and the cream sauce. Stir together and heat for a few minutes. Then add your sour cream, stir until blended, and heat for a few more minutes.  At this point I throw the sauce and noodle into the big stock pot I cooked the noodles in and stir everything until combined. Dish out and garnish with paprika and enjoy!

Thickened cream sauce base before adding paprika


Mushrooms and onions sautéing


Mushrooms and onions cooked down and ready for the next step


Adding the cream sauce to mushrooms and onions


All mixed together


Plated and garnished on little dude-y's plate

I hope you all enjoy this recipe.  It's not low fat, low cal, or anything like that but it i mostly made from scratch and uses REAL food.  My little one seems to like it as much as his momma does. ;-)